How to Update a Minecraft Mod: A Guide
Key Takeaways
- Back Up First: Always copy your worlds and mods before updating—trust me, losing a mega build hurts more than a Creeper explosion.
- Check Compatibility: Make sure the mod version matches your Minecraft version to avoid crashes or missing textures.
- Update Forge/Fabric: Mod loaders also need updates; keeping them current ensures smoother gameplay.
- Download from Trusted Sources: Stick to official mod sites like CurseForge to dodge malware and broken files.
- Follow the Instructions: Many mod creators include update notes—read them, they’re lifesavers.
- Test in a Separate World: Before risking your main survival save, test the updated mod in a throwaway world.
- Stay Patient: Some mods take time to update after Minecraft patches—don’t rush, or you’ll end up with a buggy mess.
Paragraph
Updating a Minecraft mod is simple once you know the steps: back up your worlds, ensure the mod matches your current Minecraft version, and update your loader (Forge or Fabric) if needed. Always download from trusted sources like CurseForge and check the creator’s notes for specific instructions. To stay safe, test the update in a separate world before diving back into your main save. With a little patience and preparation, you can enjoy the latest mod features without risking your hard-earned builds.
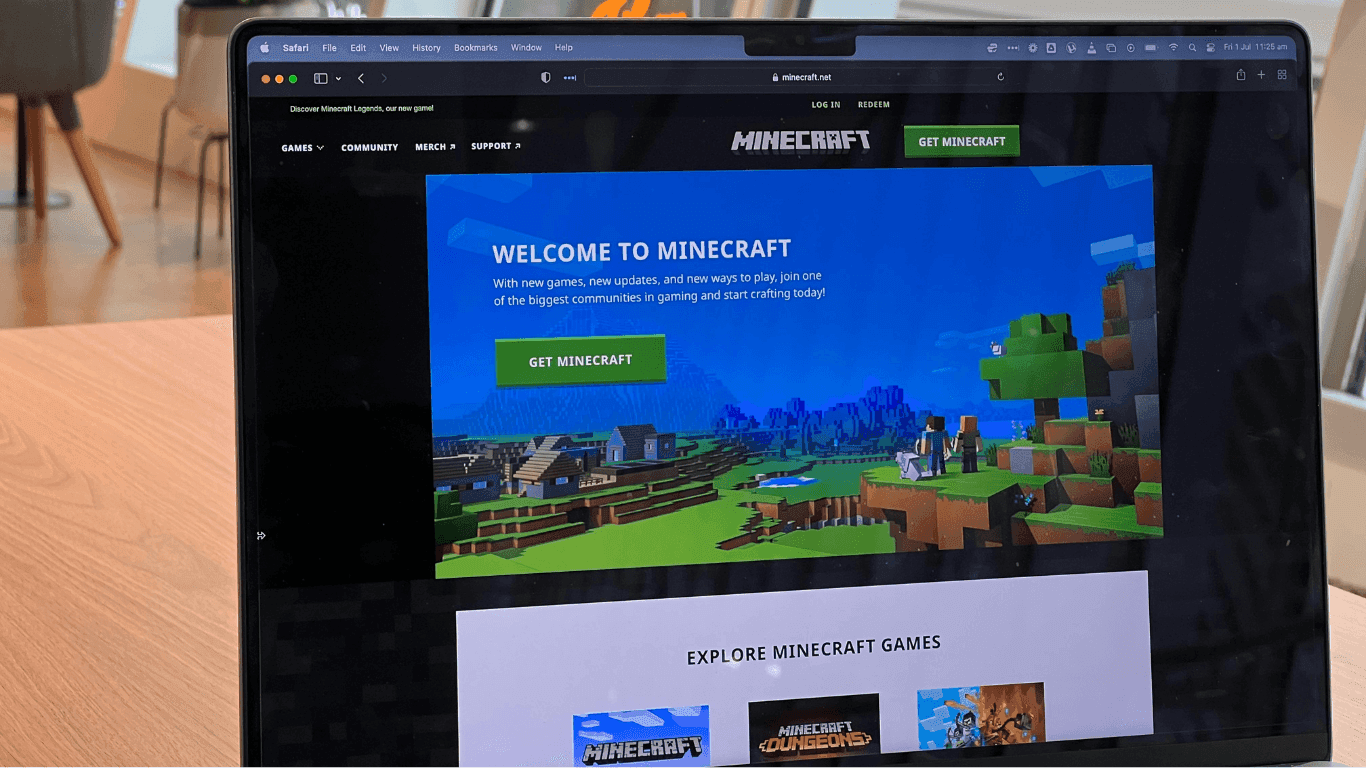
The pixelated universe of Minecraft mods offers players unlimited potential to craft, create, and construct. But what elevates the game even further is its bustling modding community. These modifications, or “mods” as they’re popularly known, introduce new mechanics, fresh content, and sometimes even entirely revamped gameplay experiences. Like all software, these mods require updates. Keeping them up-to-date ensures compatibility, introduces new features, and mends any bugs or glitches. This article will guide you through updating a Minecraft mod, ensuring your blocky adventures stay smooth.
1. Preliminary Checks
Before you jump into the update process, you need to perform a few checks.
- Game Version Compatibility: Not all mods are compatible with all versions of Minecraft. Always check if the mod you’re updating corresponds with the version of Minecraft you have installed.
- Dependency Check: Some mods depend on other mods to function. When updating, ensure that these ‘parent’ mods are also updated to compatible versions.
- Backup Your Game: Whenever you’re making changes, there’s always the risk of something going awry. Backup your game saves and current mods. This way, you can restore your game if needed.
2. Manual Updating Method
Step 1:
Locate the Current Mod: Navigate to the .minecraft folder. Within, locate the mods folder. This is where all your installed mods reside.
Step 2:
Download the Updated Mod: Visit a reliable Minecraft mod source. Sites like CurseForge, Minecraft Forum, or Planet Minecraft are trustworthy. Search for your mod and download its latest version. Ensure the version is compatible with your Minecraft version.
Step 3:
Replace the Old Mod: In the mods folder, remove the old version of the mod. Move the newly downloaded mod version into this folder.
Step 4:
Run Minecraft: With the mod updated, launch Minecraft. If everything was done correctly, the mod will be updated without issues.
3. Using a Mod Manager – Twitch/CurseForge
If you have numerous minecraft mods or want an easier update method, consider using a mod manager. One of the most popular is the Twitch/CurseForge client.
Step 1:
Launch Twitch/CurseForge Client: If you don’t have it, download and install it. Once installed, navigate to the Mods section and select Minecraft.
Step 2:
Access Installed Mods: Here, you’ll see a list of all your installed mods. Mods that have updates available will be indicated.
Step 3:
Update: Simply click on the mod that needs updating and select the ‘update’ option. The client will handle the rest.
Step 4:
Run Minecraft Through the Client: Once the mods are updated, you can directly launch Minecraft from the Twitch/CurseForge client, ensuring all mods are loaded correctly.
4. Troubleshooting
Even with careful steps, you might encounter issues. Here’s how to troubleshoot common problems:
- Crashes: Ensure that there are no version mismatches. Check mod dependencies and ensure all are updated.
- Mods Not Loading: Double-check the
modsfolder to ensure the updated mod is present. - Graphical Glitches: Ensure your Minecraft video settings are compatible with the mod. Some mods introduce shaders or graphical changes that might require tweaking in-game settings.
5. Staying Informed
To avoid frequent manual checks:
- Join Mod Communities: Many mod developers have Discord channels or forums. Joining these can keep you informed about updates.
- Subscribe to Mod Pages: On sites like CurseForge, you can ‘watch’ mods. This sends notifications when mods are updated.
Conclusion
Updating Minecraft mods can seem daunting, but with the right steps and tools, it becomes a breeze. Regular updates not only enhance your gameplay but ensure your Minecraft universe remains bug-free and smooth. Dive back into your game with confidence, knowing that you’re experiencing the very best your mods have to offer.
FAQs
Updating Minecraft mods ensures that you benefit from the latest features, improvements, and bug fixes. It also helps maintain compatibility with newer versions of the game and other mods.
If you’re using a mod manager like Twitch/CurseForge, it will notify you of available updates. Otherwise, regularly checking the mod’s official page or forum will keep you informed about recent releases.
No, not all mods are updated for the newest Minecraft versions. Before updating a mod, always check its compatibility with your game version.
If you’re using a mod manager, you can often update multiple mods simultaneously. However, if updating manually, you’ll need to process each mod individually.
This could be due to version incompatibility or issues with other mods. First, ensure the updated mod is compatible with your Minecraft version. If that’s not the issue, check for dependencies or conflicts with other mods. As a last resort, consider rolling back to the previous mod version.


